
 Tiếng Việt
Software Needed:
- Wilcom e4
- Corel Draw
All image files can be converted into embroidery files, but PNG files provide the best quality and require the least processing.
After launching Wilcom and preparing the image for conversion, follow these steps:
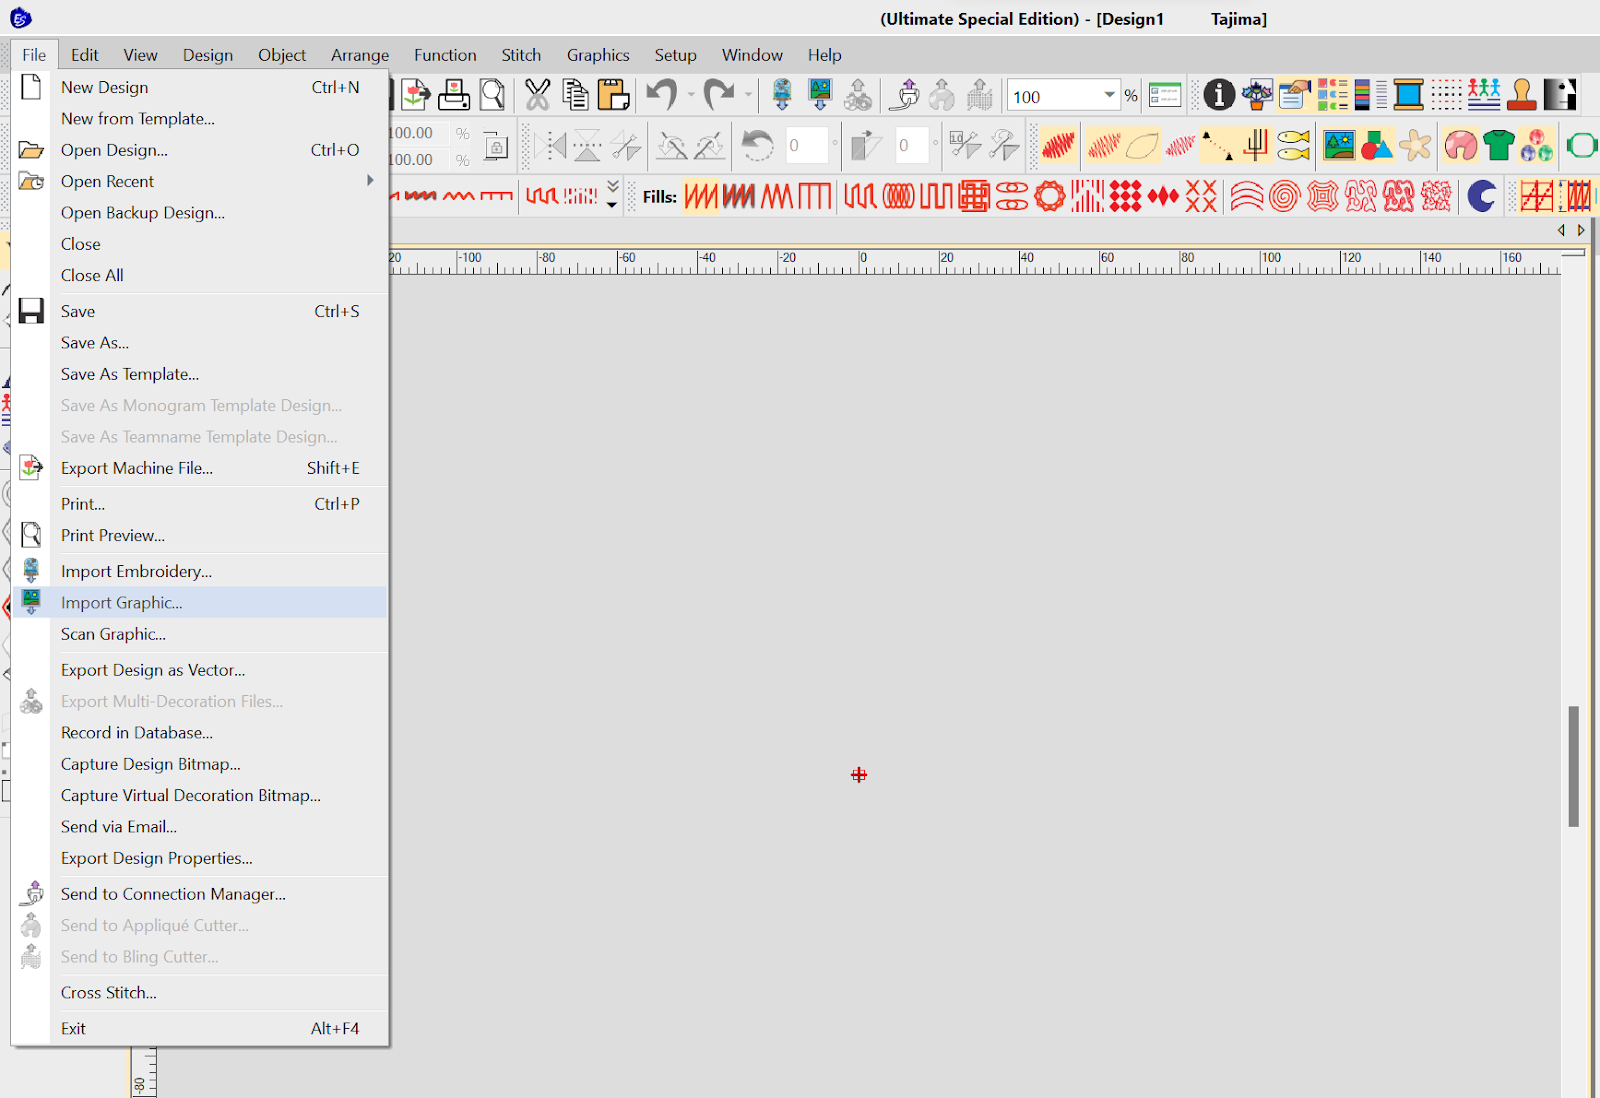
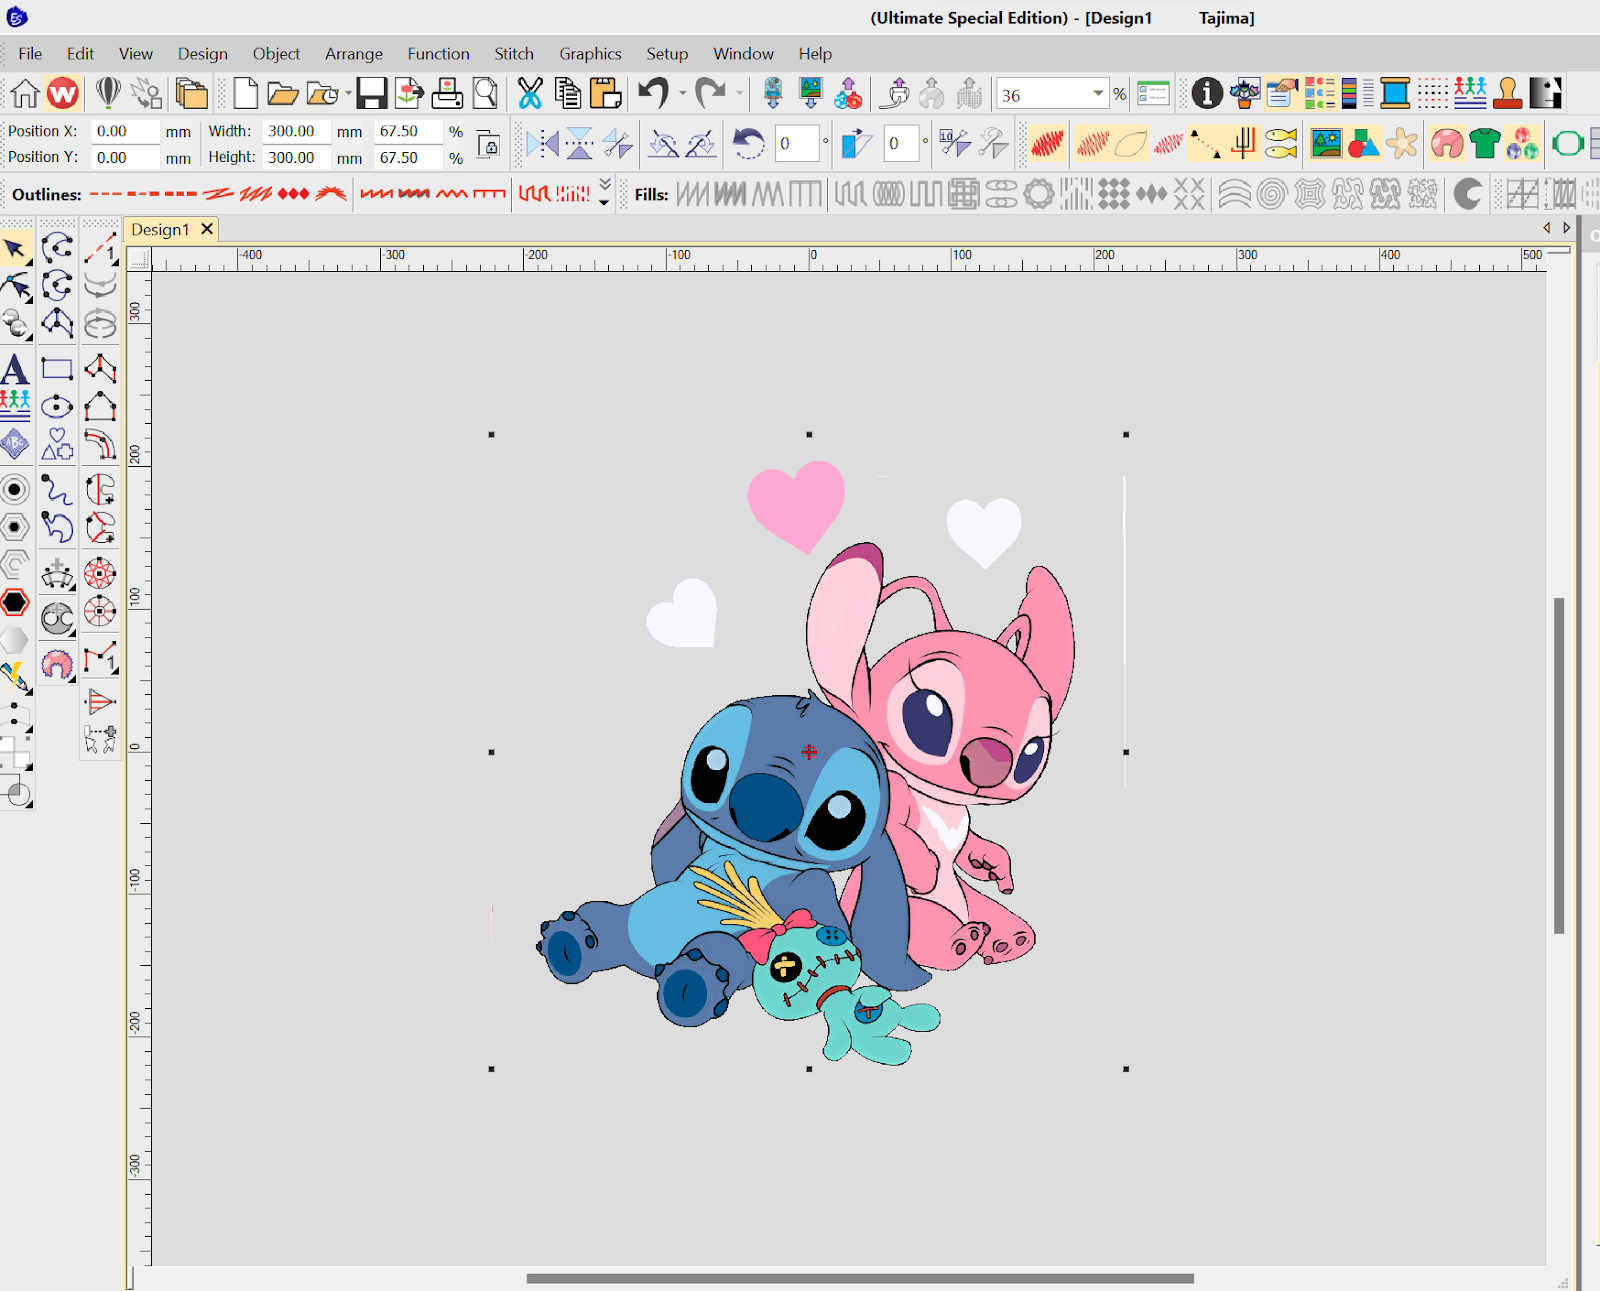
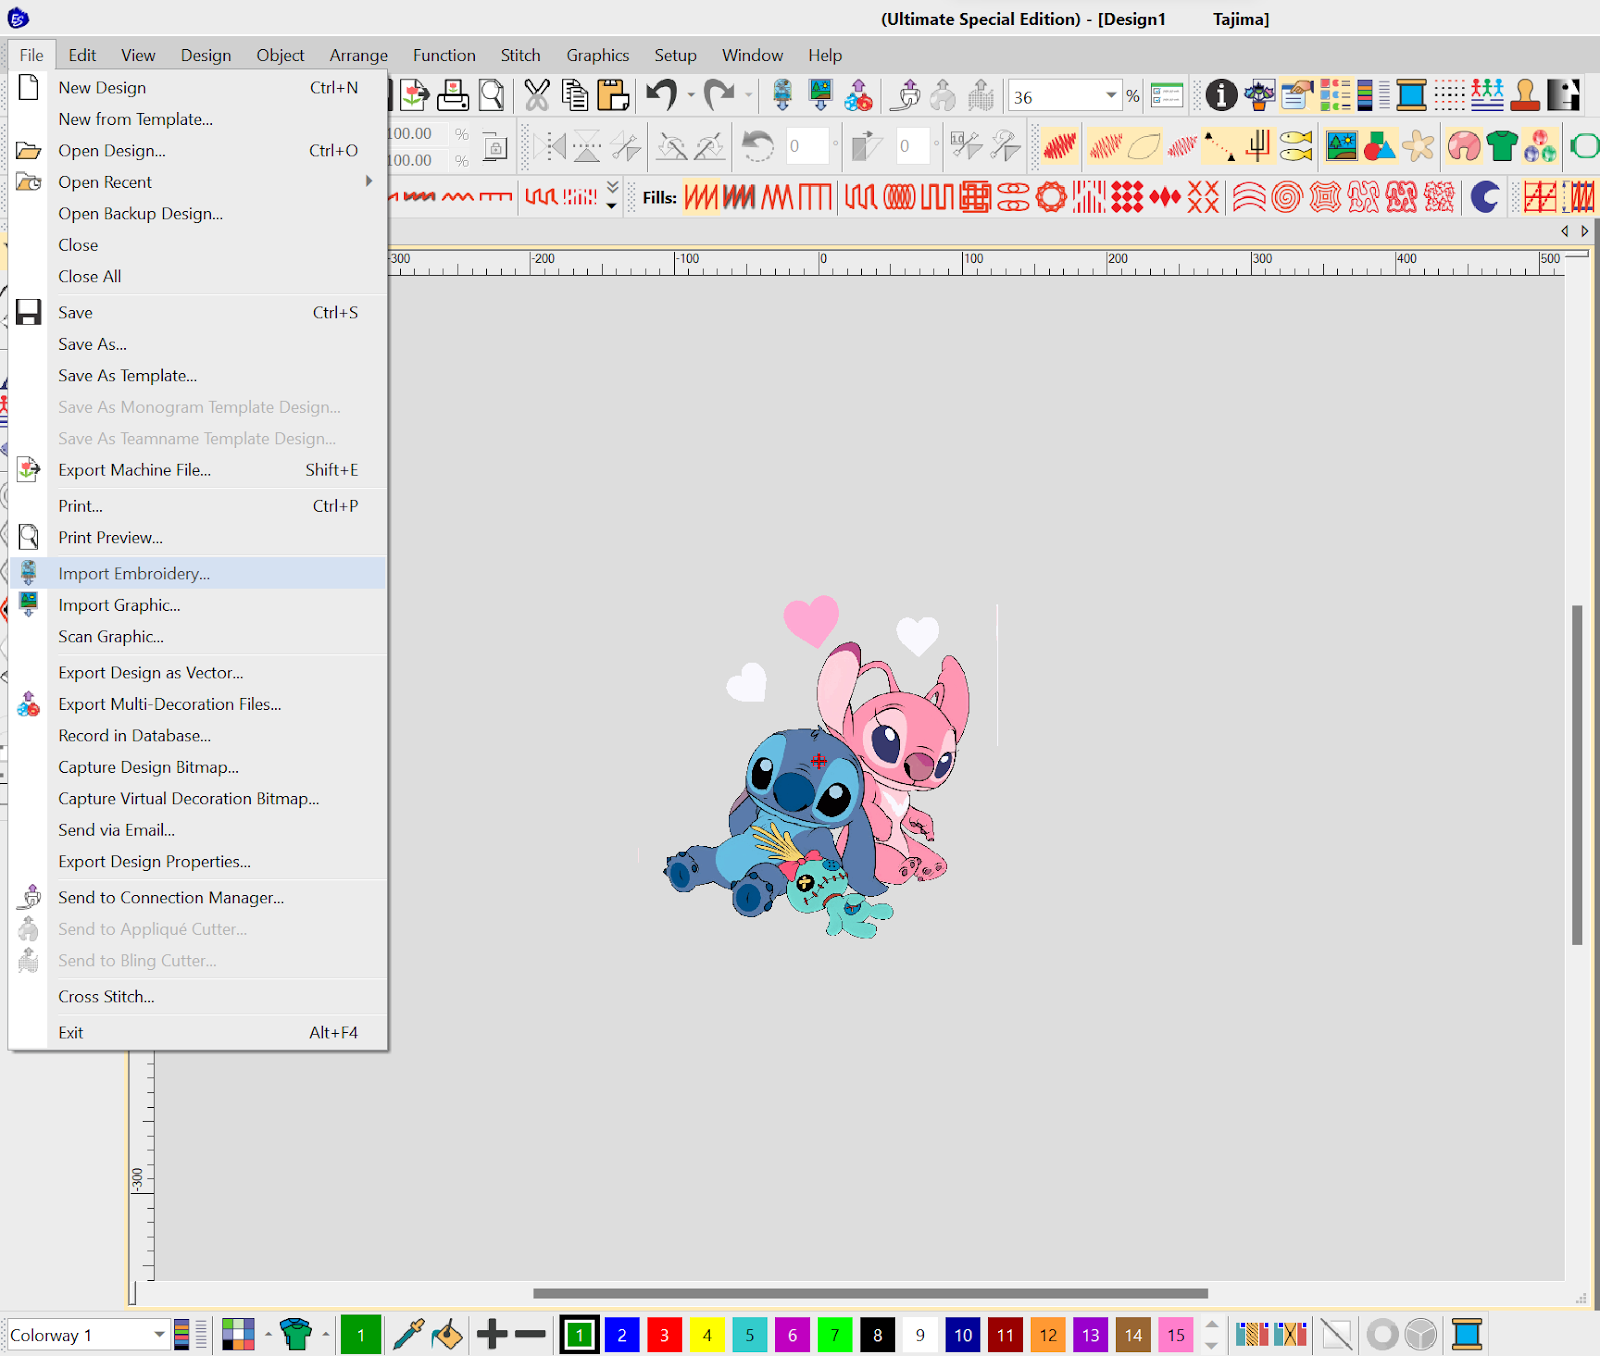
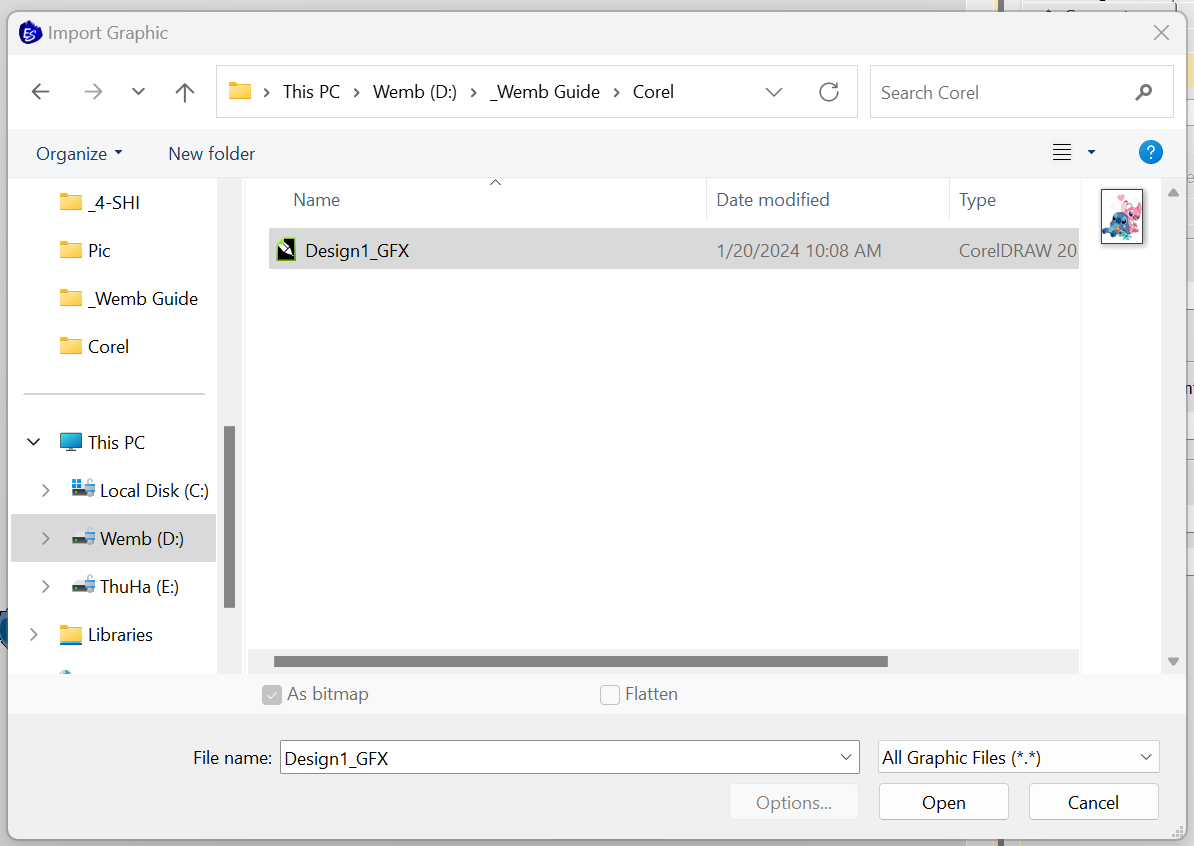
Step 1. File → Import Graphic… → Select the image file for conversion
It’s recommended to resize the file to reduce export time.
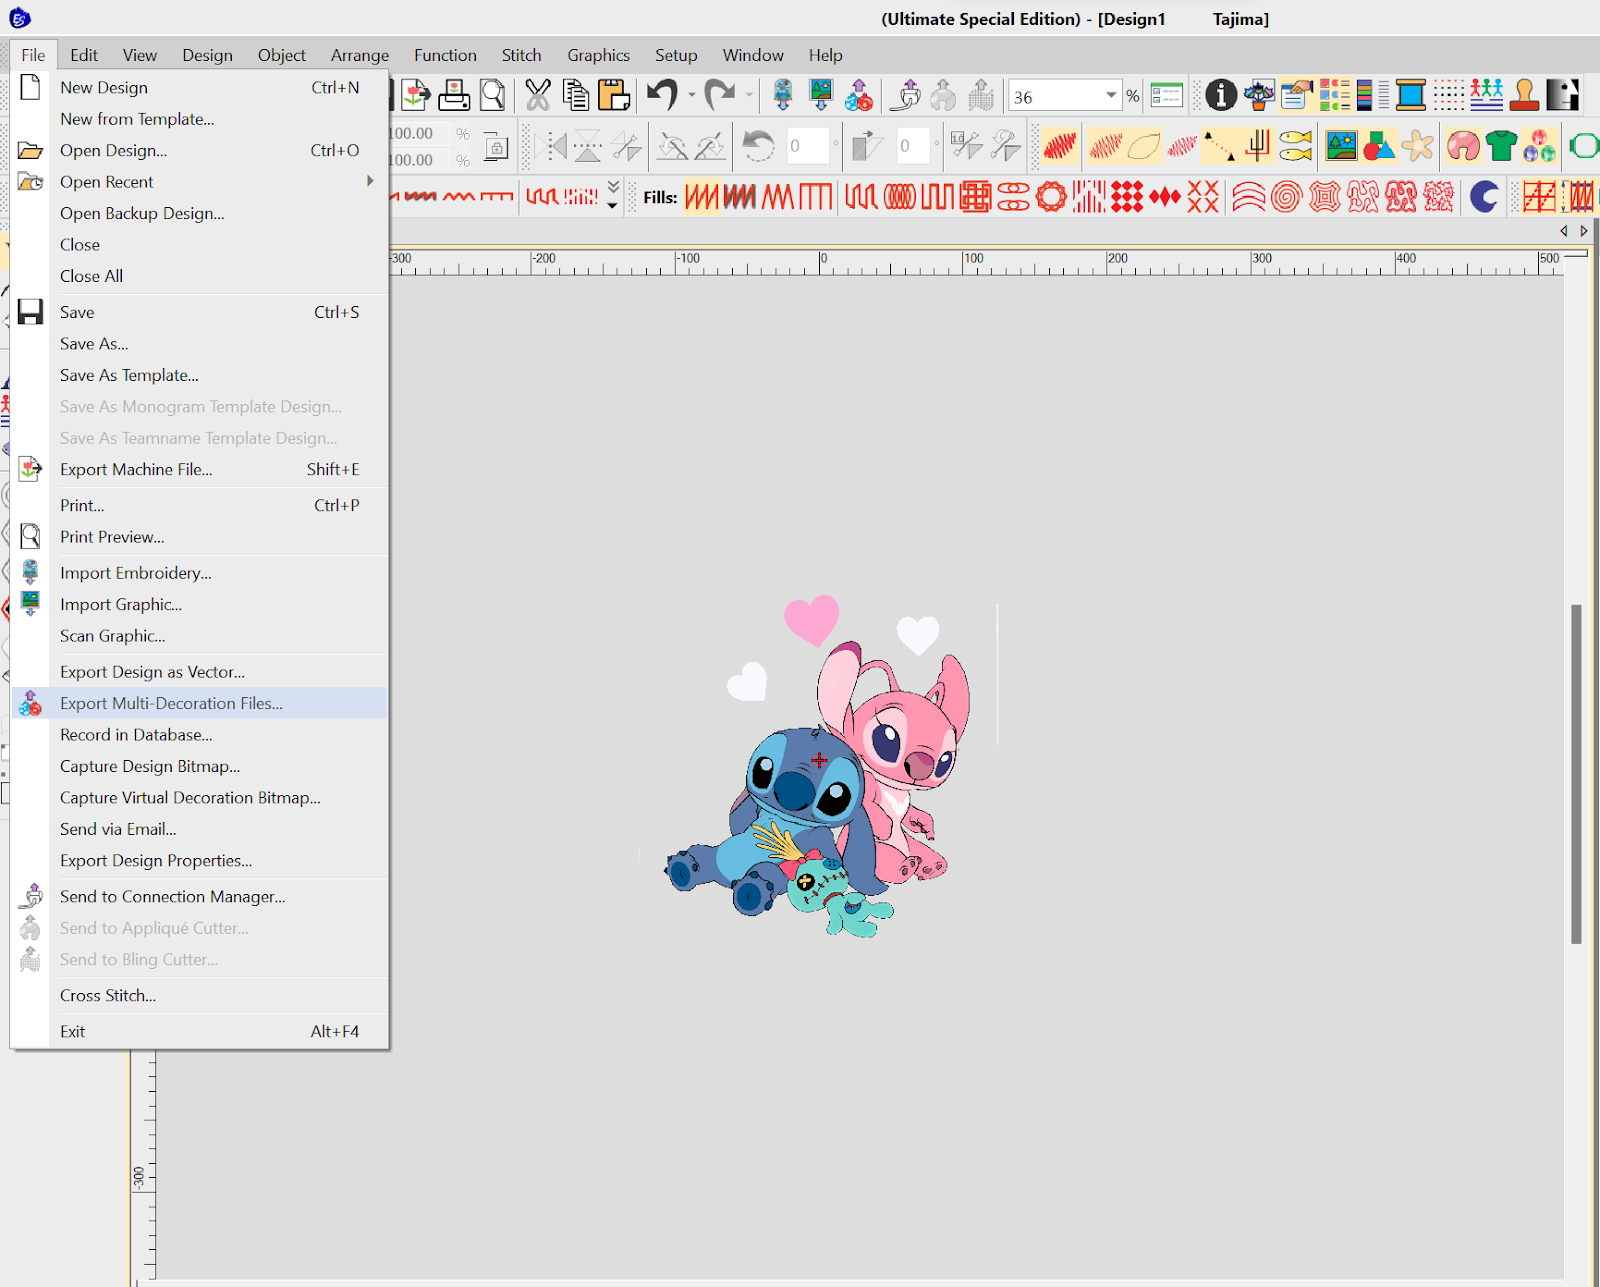
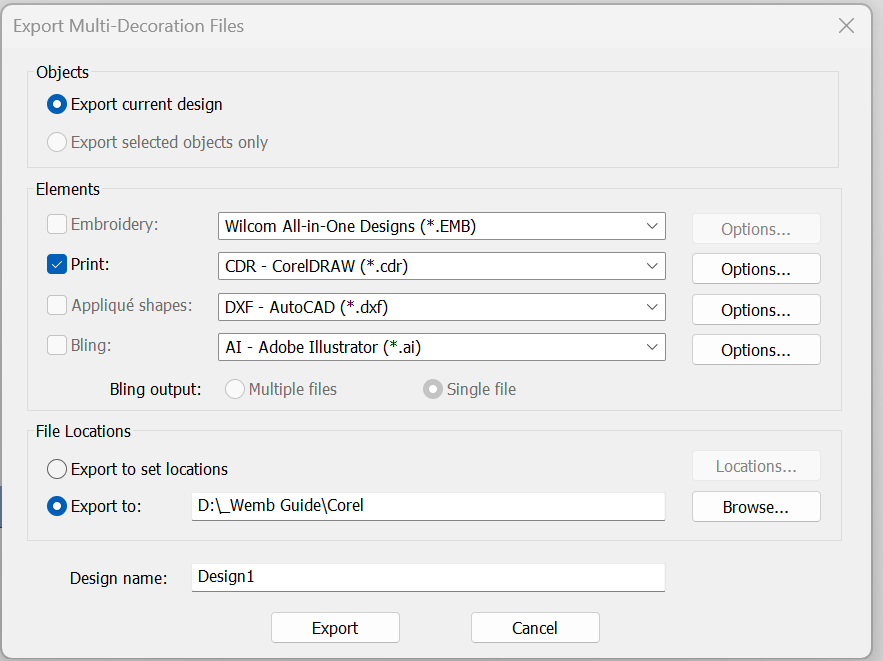
Step 2. File → Export Multi-Decoration Files… → Choose the folder to save the exported file
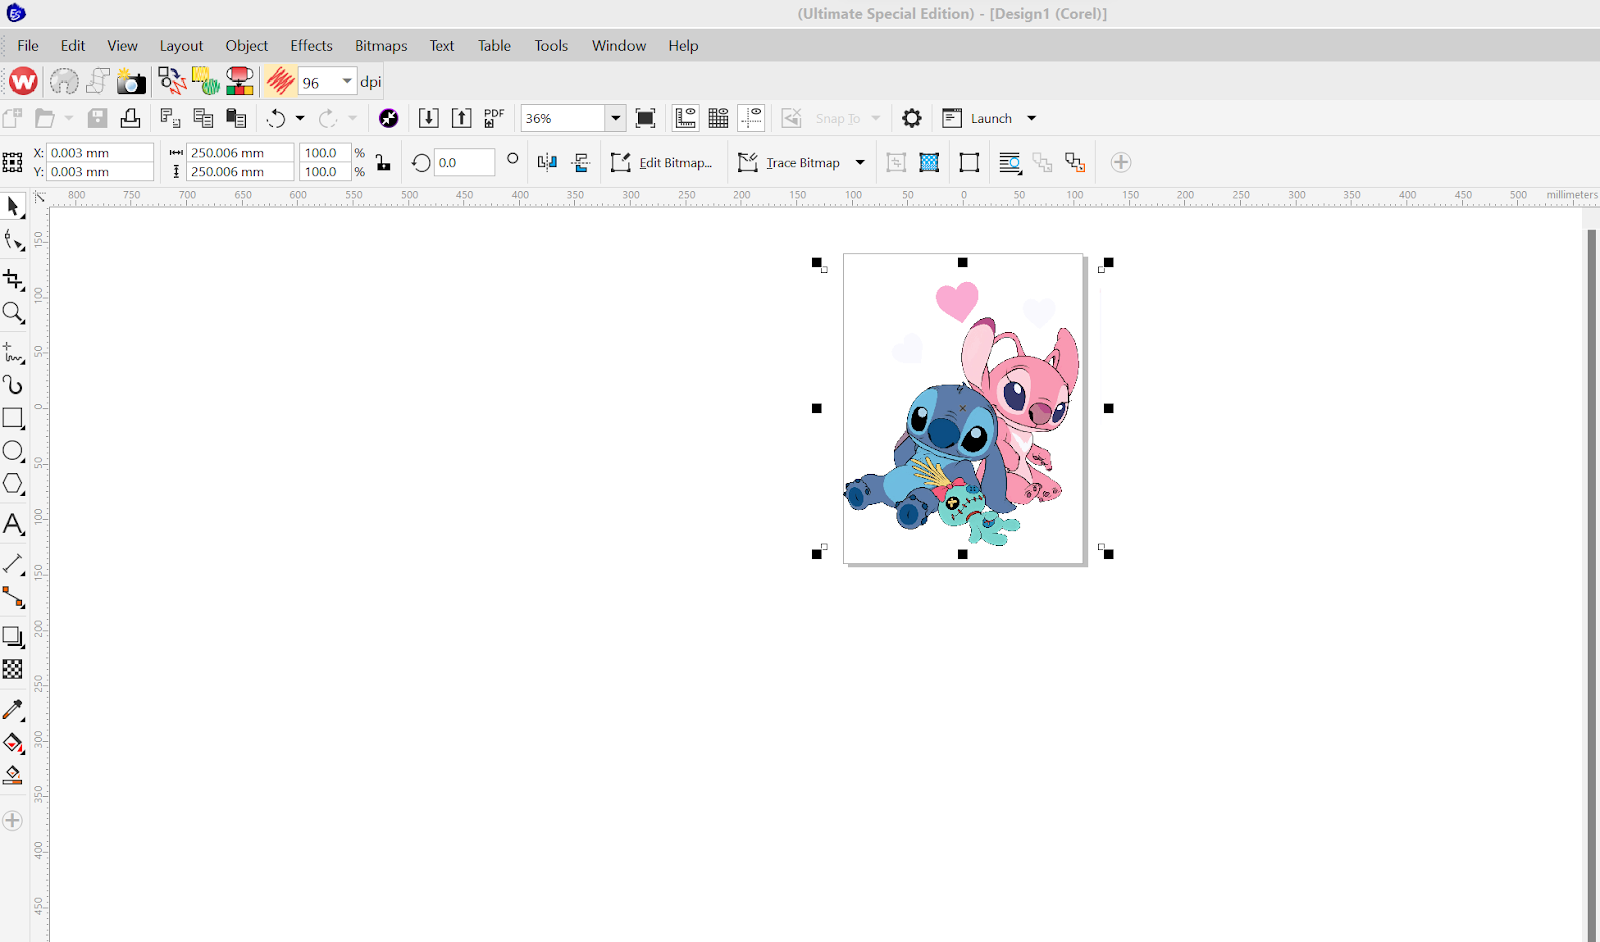
This step converts the image file to a .cdr file. If you already have a Corel file, you can skip steps 1 and 2.
Step 3. File → Import Graphic… → select the file exported in step 2
Adjust the file size accordingly
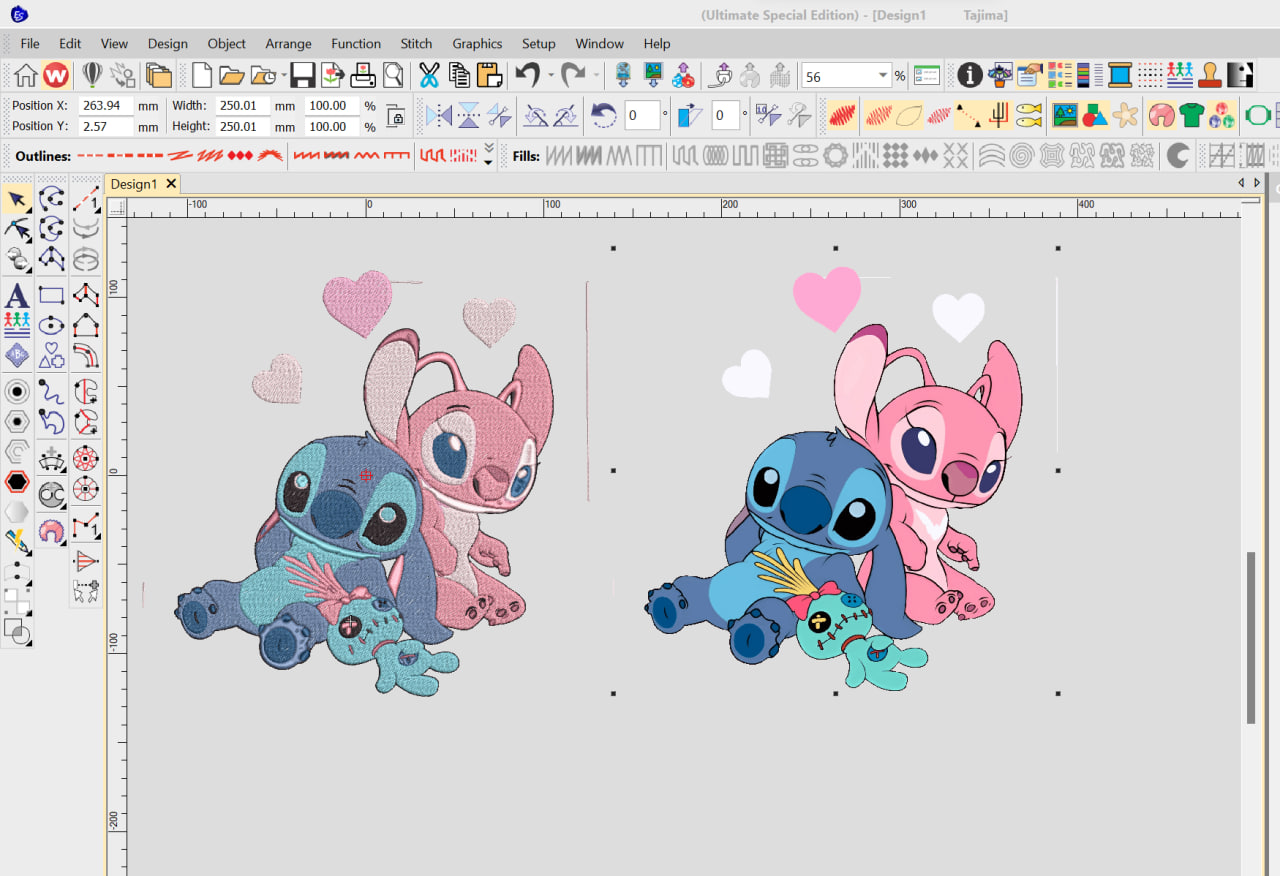
Step 4. Press the Convert Graphics to Embroidery button
And here is the result
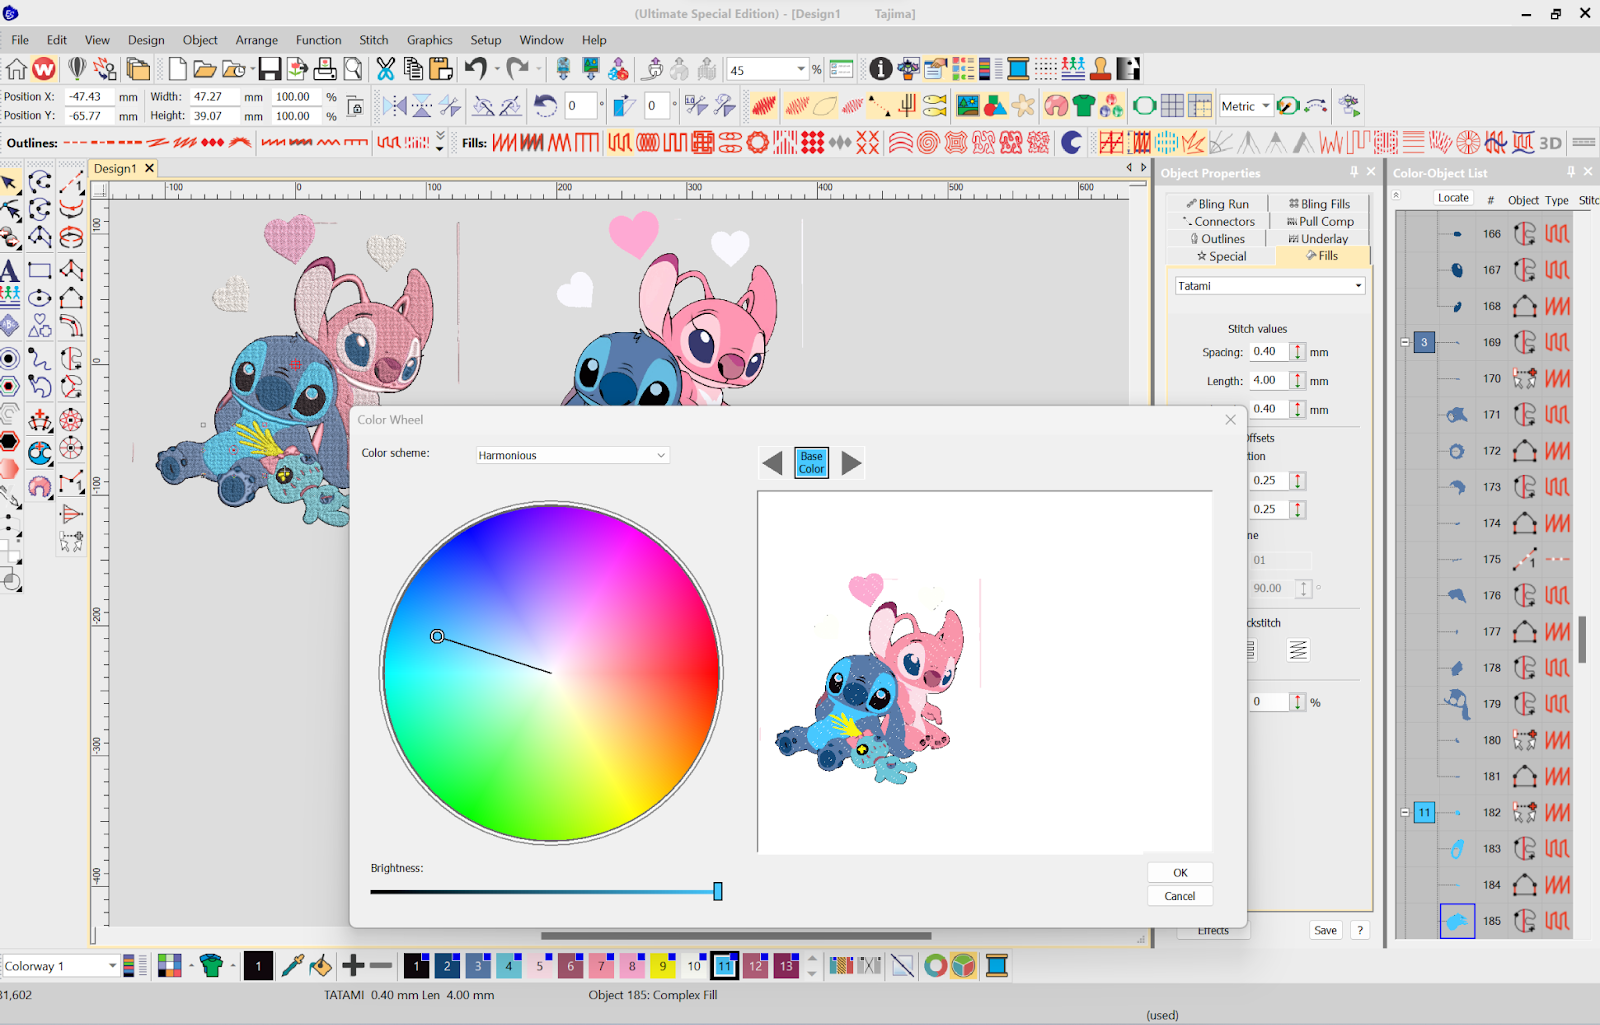
Step 5. Adjust the colors to match the original design
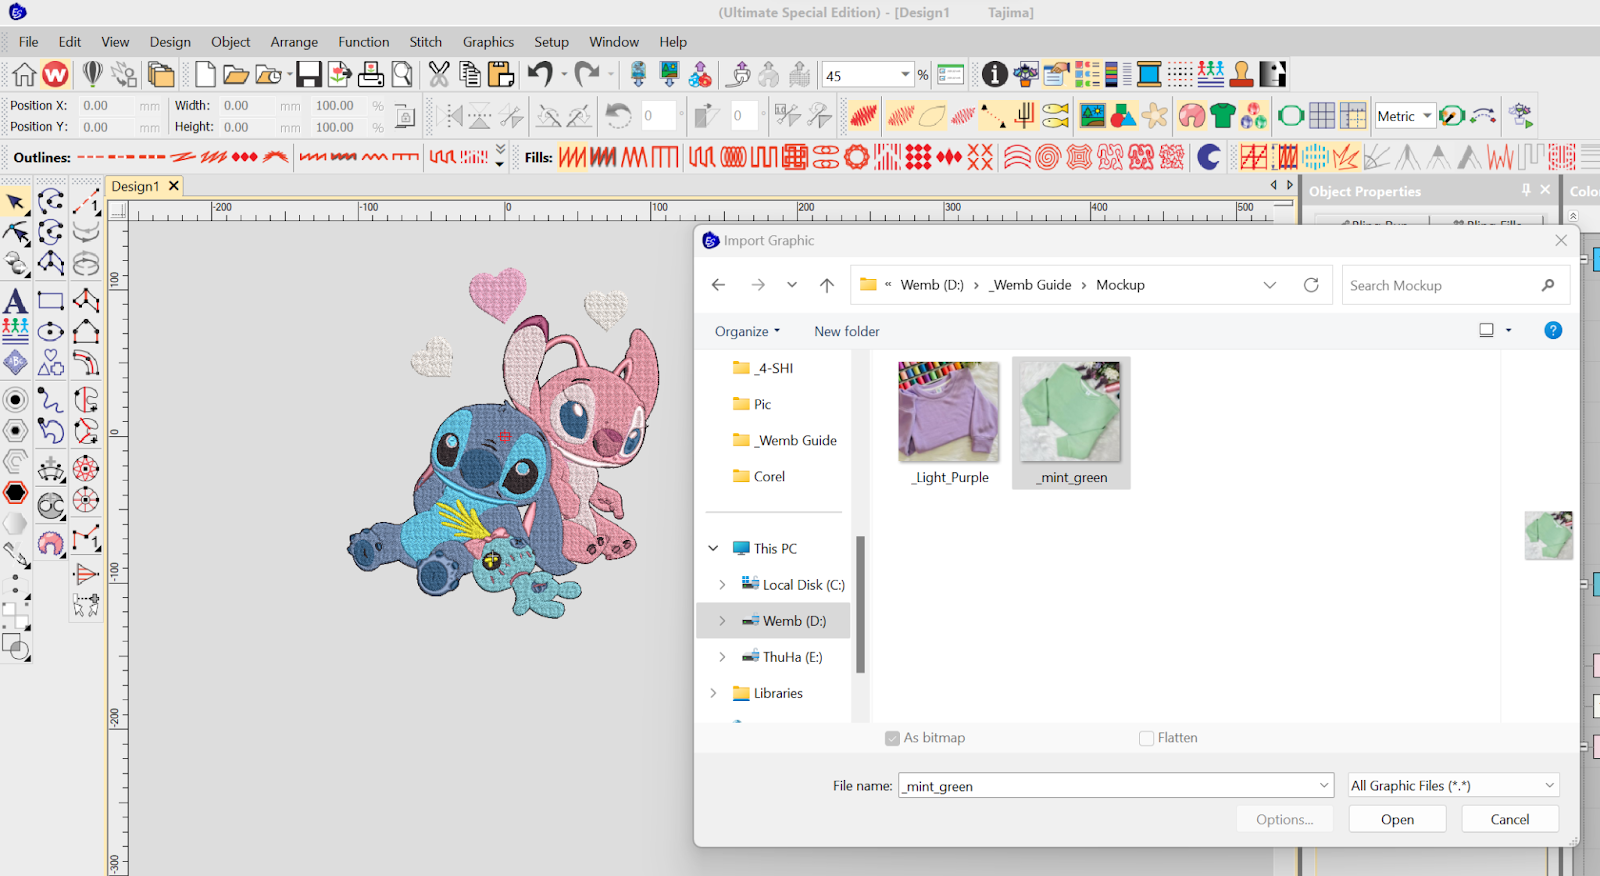
Step 6. File → Import Graphic… → select the mockup file
Adjust the size, position, and rotation of the design to fit the mockup
Step 7. File → Capture Design Bitmap…
The mockup file will have the .BMP extension; change it if necessary.
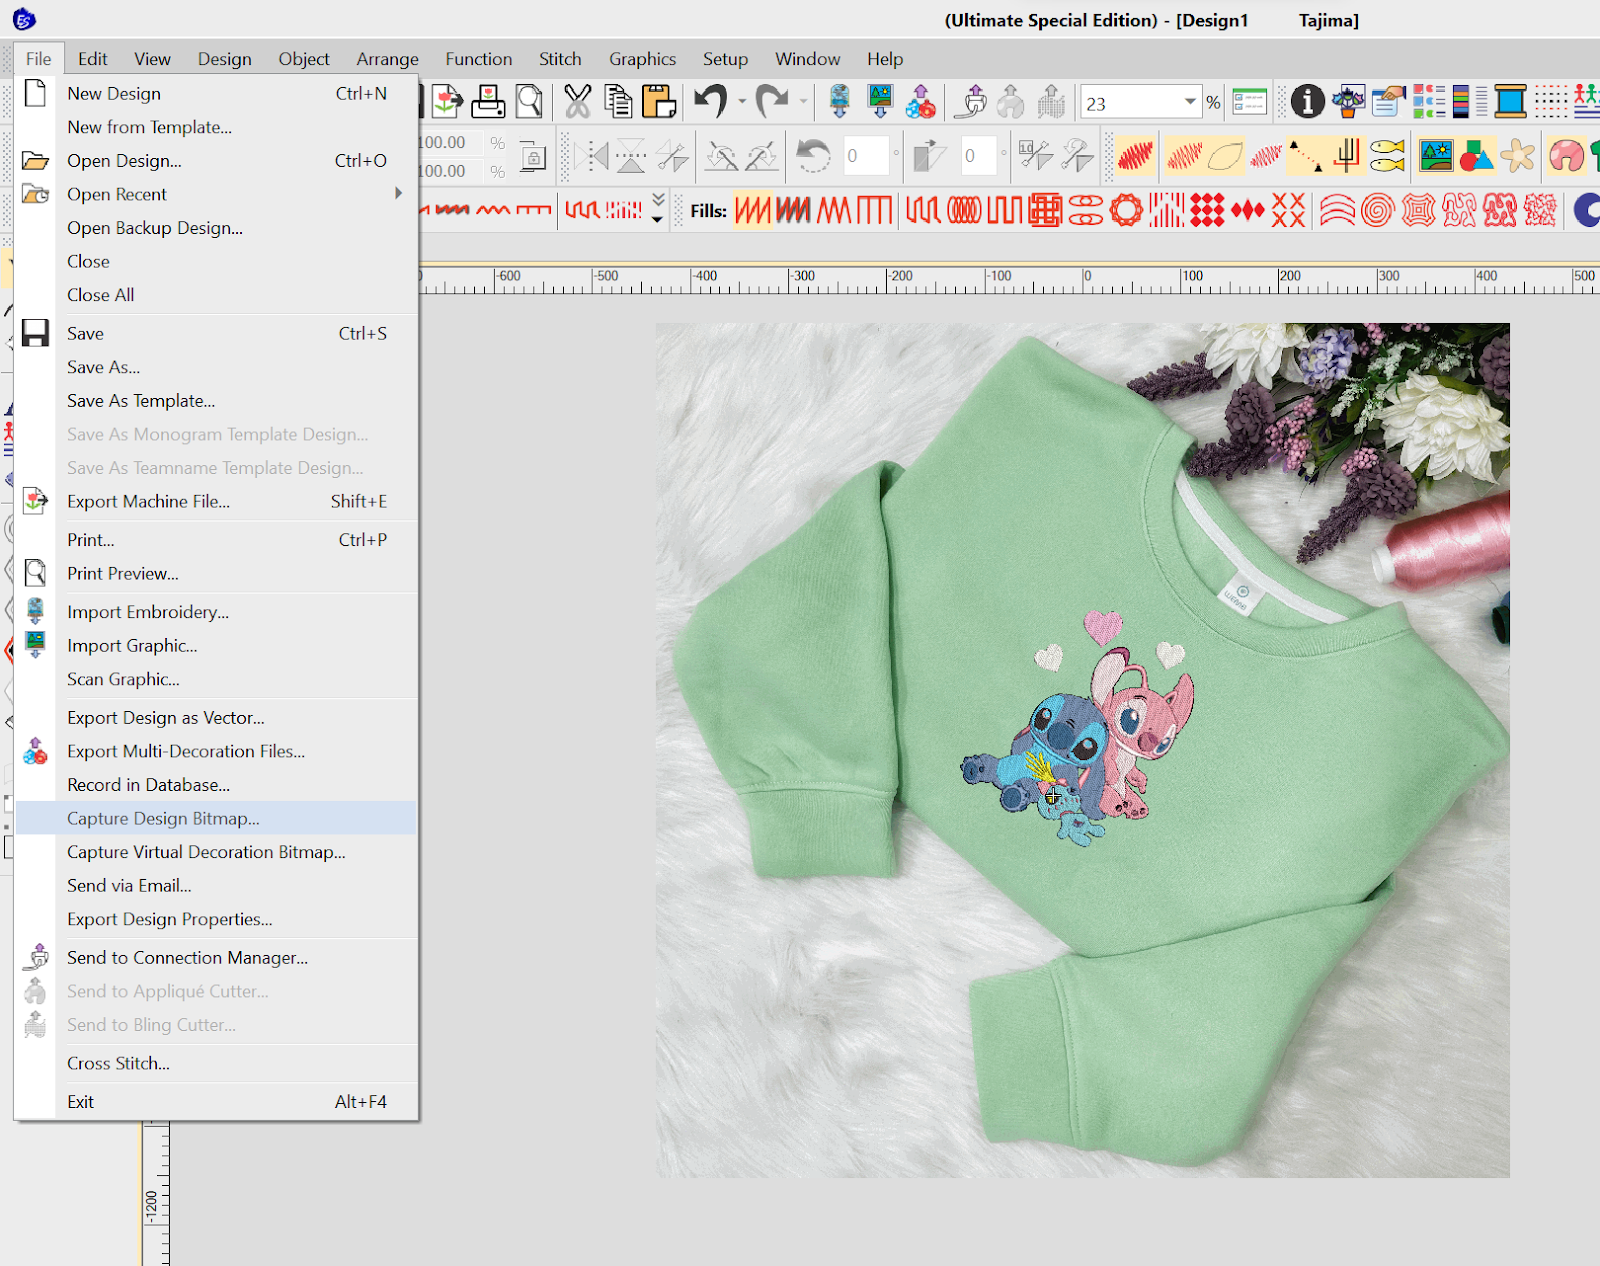
And there you have it, a sophisticated embroidered mockup like this


Wishing you create many beautiful mockups, sell many orders, and don’t forget Wembroidery for fulfilling your embroidery product needs!